DIY Fiberglass Pool Chip Repair Without Draining the Water
How to Repair a Fiberglass Pool Chip Without Emptying the Pool
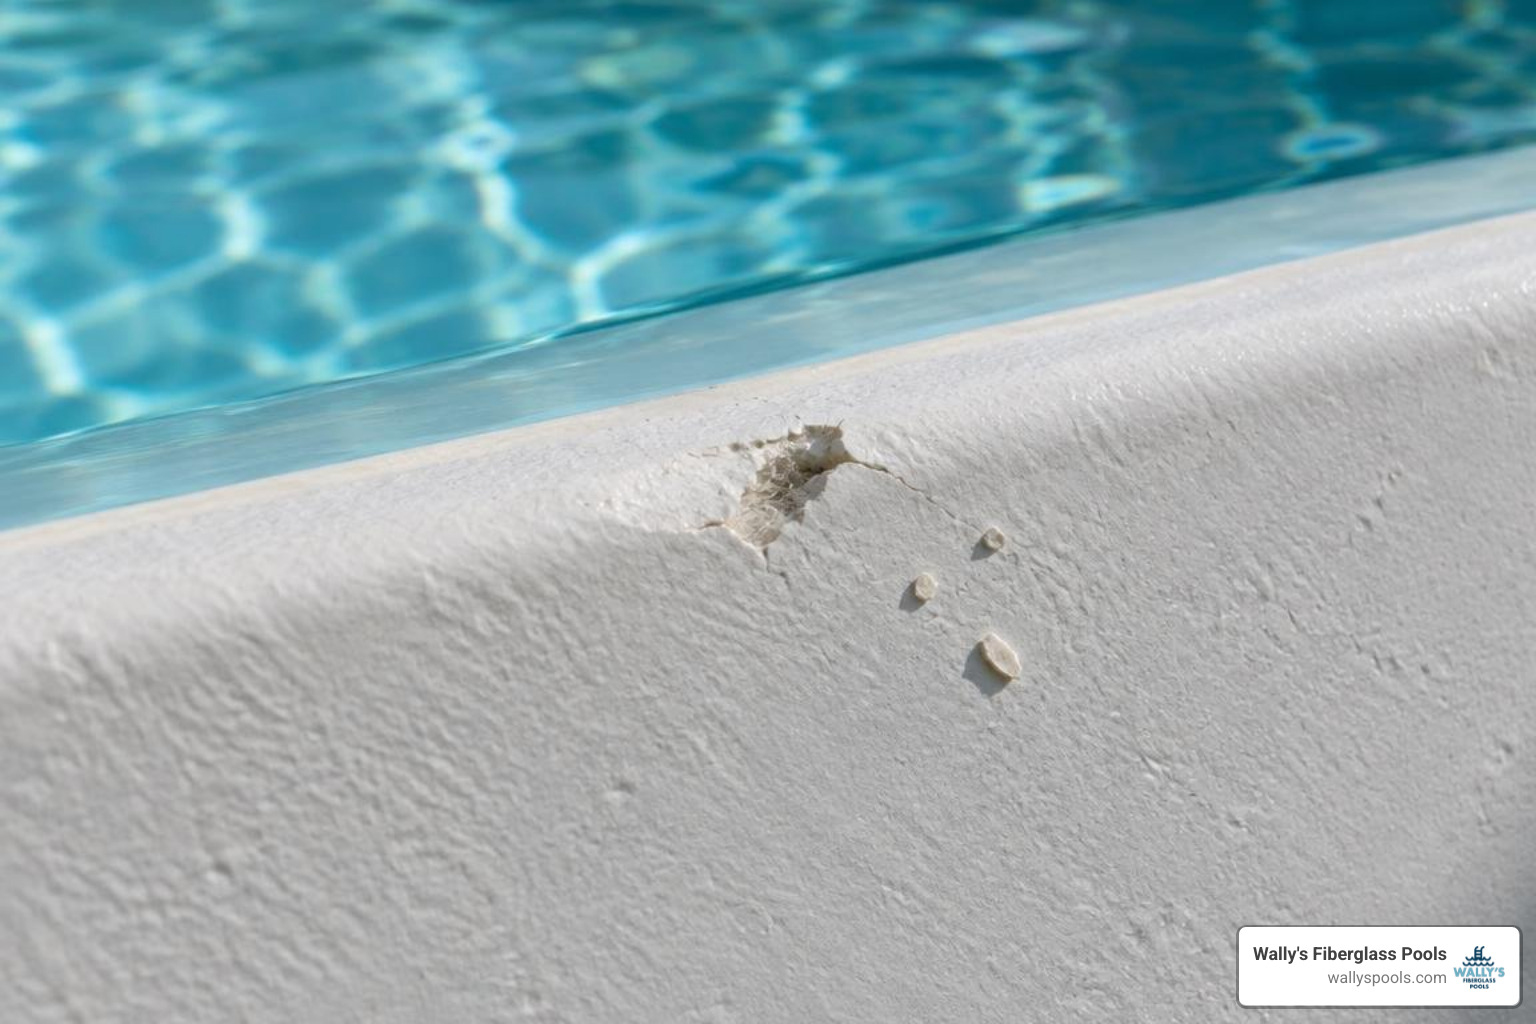
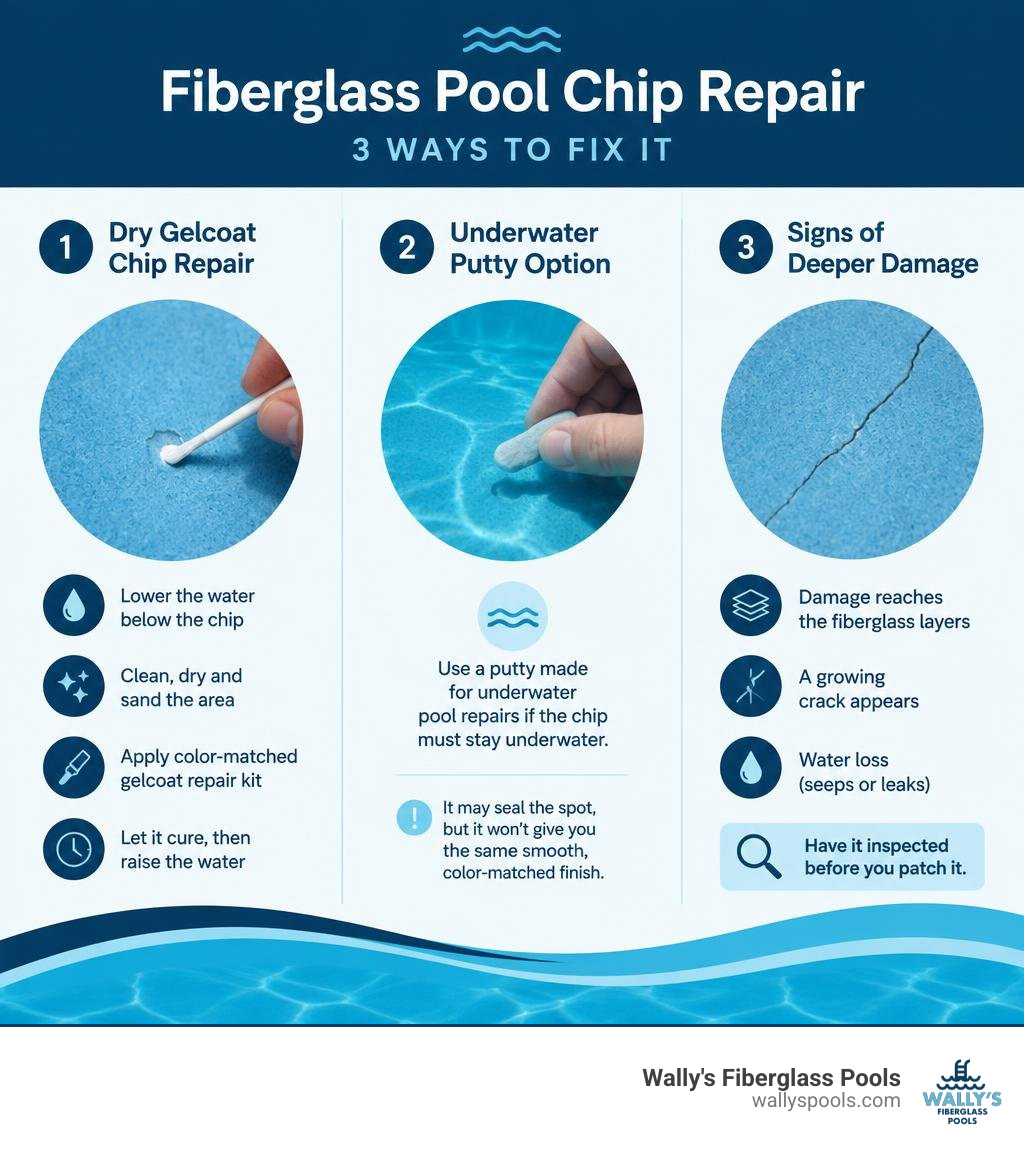
You usually do not need to empty the pool to fix a small gelcoat chip. Lower the water below the chip, clean and dry the spot, sand off loose material, and apply a color-matched gelcoat repair kit. Let it cure for the time listed on the kit before raising the water. If the chip must stay underwater, use a putty made for underwater pool repairs instead. It may seal the spot, but it will not give you the same smooth, color-matched finish.
If the damage reaches the fiberglass layers, forms a growing crack, or comes with water loss, have it inspected before you patch it. I’m Wally Haines from Wally’s Pools, and I’ll walk Southeast Wisconsin homeowners through the repair choices and the signs that a chip needs more than a touch-up.
Quick fiberglass pool chip repair definitions:
Can You Fix Gelcoat Damage Underwater vs. Dry Surface?
A common question we hear across Lake Country backyards is whether you can patch a chipped fiberglass pool without draining the entire basin. Complete draining can be risky for fiberglass shells due to surrounding groundwater pressure. Fortunately, for minor surface chips, draining the entire pool is unnecessary. However, the exact repair method depends entirely on whether the work area is wet or dry.
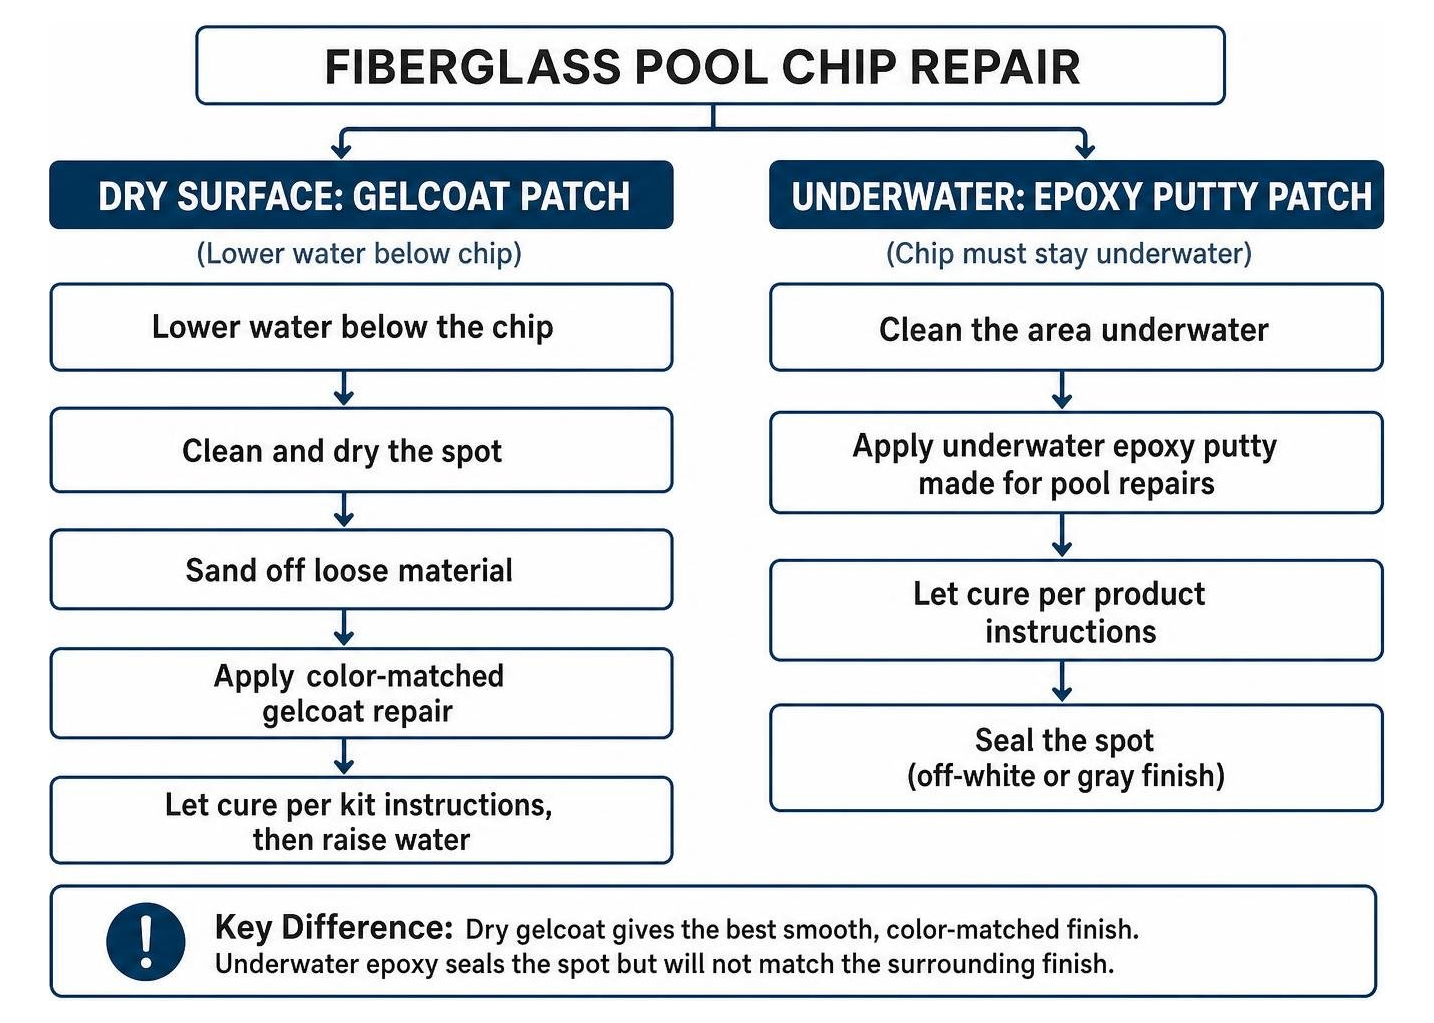
When working fully submerged, standard polyester gelcoat cannot cure properly because water interferes with the chemical cross-linking. In those situations, you must rely on specialized products like PC-Pool Epoxy, which are formulated to displace water molecules and cure hard in wet environments. If you want to know more about submerged repairs, check out our guide on underwater repair methods.
Underwater epoxies cure reliably, but they cure to an off-white or gray finish and cannot be feathered out seamlessly like pure gelcoat. For an invisible, factory-grade finish, lowering the water level just 6 inches below the damage to work on a bone-dry surface remains the gold standard.
Cosmetic vs. Structural Fiberglass Pool Chip Repair
Before grabbing your tools, determine whether the damage is merely cosmetic or represents deeper structural distress.
Factory-applied gelcoat is typically 25 to 30 mils thick—applied in three precise passes during manufacturing to create an impermeable, ultra-smooth barrier. A cosmetic chip only affects this outer layer:
- Cosmetic Gelcoat Chips: The protective resin has chipped away, exposing a shallow crater, but the dark structural laminate beneath remains intact and unbroken.
- Spider Cracking: Very fine, hairline fractures on the surface, usually caused by localized mechanical impact or shifting temperatures.
- Structural Laminate Damage: The impact penetrated straight through the 25–30 mil gelcoat and cracked the underlying woven glass matting. This often leads to flexure, water loss behind the shell, or spreading fractures during our harsh Wisconsin freeze-thaw cycles.
- Osmotic Blisters: Bubbles beneath the finish resulting from moisture penetrating the resin matrix.
If the structural laminate is compromised, a simple surface fill will not halt moisture intrusion. A deeper composite reinforcement is necessary.
Essential Tools and Materials for Fiberglass Pool Chip Repair
Fixing a dry chip correctly requires composite-grade supplies rather than hardware-store spackle. Using mismatched epoxies can lead to pop-outs when water temperatures shift between summer heat and crisp autumns.
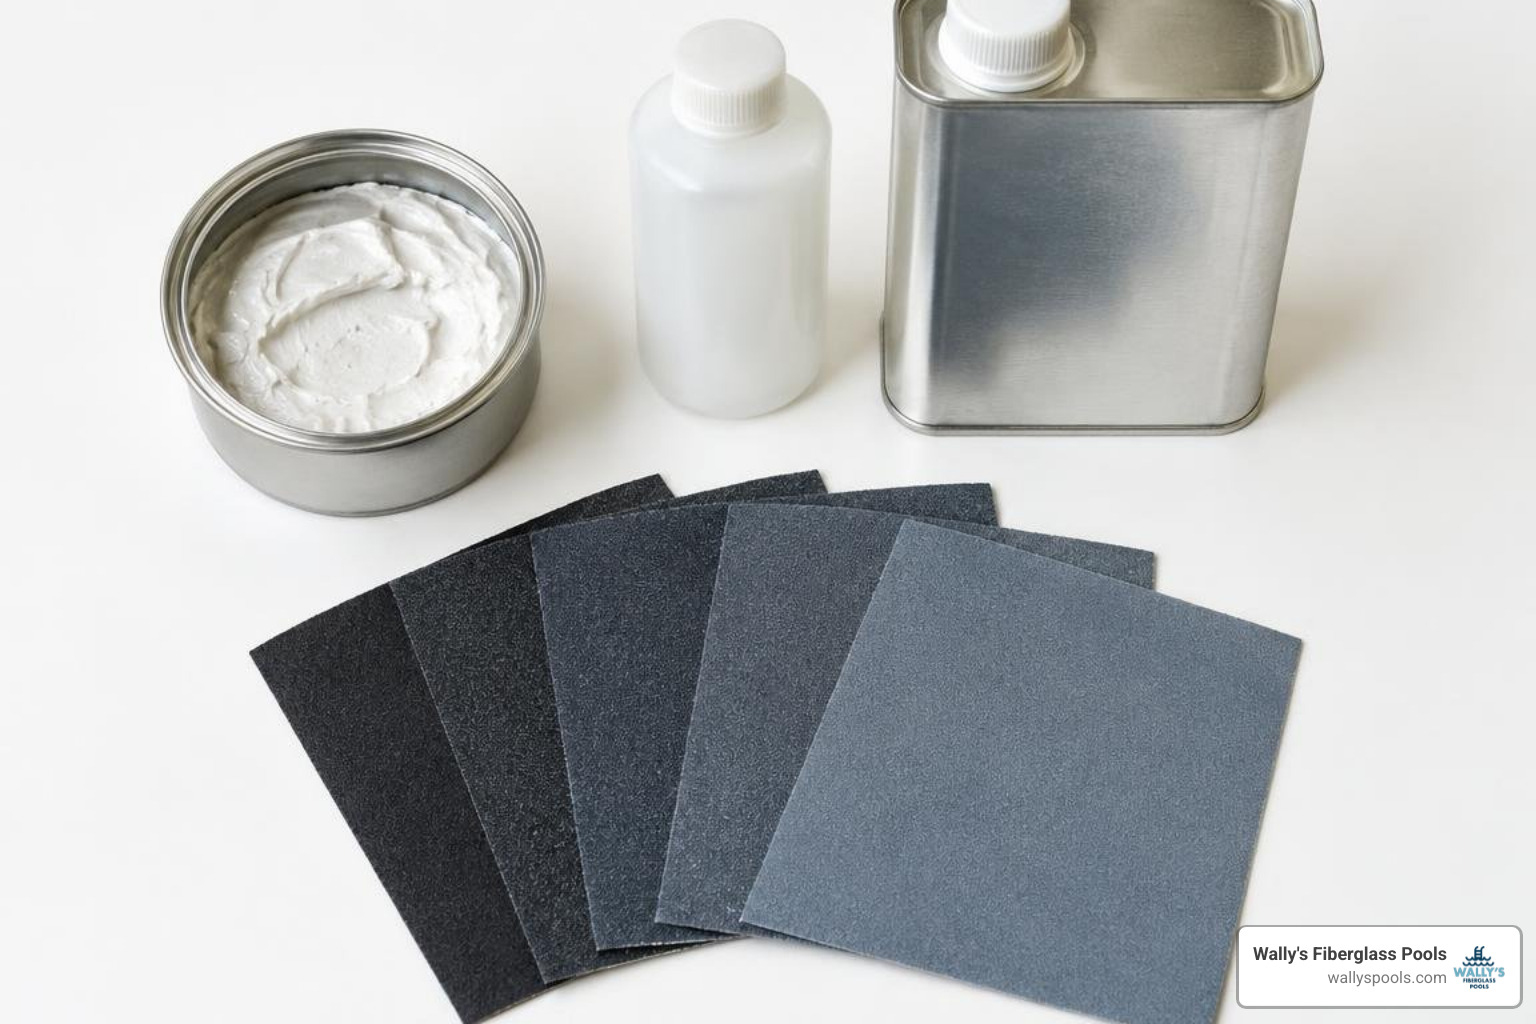
Gather these essentials before starting:
- Marine-Grade Gelcoat Filler: UV-stabilized, isophthalic pool resin designed for continuous chemical immersion. High-quality products like a white fiberglass pool repair kit or a color-matched kit provide durable chemical bonding.
- MEK-P Catalyst: Methyl ethyl ketone peroxide hardener.
- Pure Acetone Solvent: For absolute surface degreasing (avoid paint thinners or mineral spirits).
- Waterproof Silicon Carbide Sandpaper: Assorted sheets in 220, 400, 600, 1000, and 2000 grits.
- Application Tools: Plastic spreaders, stiff putty knives, and mixing sticks.
- Protective Equipment: Nitrile gloves, organic-vapor respirator, and safety goggles.
- Finishing Materials: High-speed rubbing compound, marine polish, and clear mylar/wax paper sheets.
Step-by-Step Process for Pool Chip Repair
If you are comfortable tackling minor handy work around your patio, you can complete a permanent repair on exposed, dry surfaces. For related step restoration, see our diy fiberglass step repair guide. For general chip patching, this proven sequence delivers lasting results, similar to the process outlined in this seamless DIY chip repair process.
Step 1: Lower the Water and Prep the Area
Lower the pool water until the water line sits roughly 6 inches beneath the repair zone. Thoroughly clean the chipped area to eliminate scale, sunblock oils, and algae.
Step 2: Bevel the Edges
A blunt, 90-degree chip edge causes visible repair lines and poor mechanical grip. Using 220-grit paper or a rotary tool, gently bevel the perimeter of the chip to a 45-degree angle. This taper expands the surface bonding area and eliminates the “halo” effect.
Step 3: Degrease with Pure Acetone
Wipe the beveled crater with a lint-free cloth soaked in pure acetone. Let it flash off completely so no moisture or solvent remains trapped behind the patch.
Step 4: Mix the Gelcoat and MEK-P Catalyst
Measure your gelcoat into a clean mixing cup. Gelcoat requires a strict catalyst ratio based on ambient air temperature. In general:
- 70°F: ~15 drops of MEK-P per ounce of resin
- 80°F: ~12 drops per ounce
- 90°F: ~8 to 10 drops per ounce
Mix thoroughly for 60 seconds without whipping air bubbles into the paste.
Step 5: Application and Overfilling
Press the mixed resin firmly into the crater using a flexible spreader to force out air pockets. Always overfill the chip slightly (about 1/32 inch above the surface) because polyester resins shrink slightly as they cure. Cover the patch smoothly with a strip of clear mylar or wax paper to block atmospheric oxygen, which allows the surface to cure tack-free.
Sanding, Polishing, and Preventing Discoloration
Once the patch has cured for at least 24 hours, remove the mylar strip. The patch should be completely hard.
- Flush Sanding: Wrap 400-grit wet sandpaper around a flat sanding block. Lubricate with water and sand until the patch is nearly flush with the surrounding pool wall.
- Micro-Finishing: Progressively sand with 600, 1000, and finally 2000-grit wet sandpaper, keeping the surface wet to blend the margins completely.
- Restoring the Gloss: Apply a heavy-cut marine rubbing compound with a foam pad or buffer, followed by a high-gloss marine polish with UV stabilizers.
Applying a UV-inhibiting sealant helps keep the new resin from fading under direct sun exposure. For additional maintenance insights, read our guide on protecting gelcoat surfaces.
DIY vs. Professional Fiberglass Pool Restoration
Small chip repairs are manageable for handy homeowners, but larger surface degradation requires a different approach. Marine-grade gelcoat refinishing provides 10 to 15 years of performance, while ordinary pool paints typically fail after 2 to 5 years.
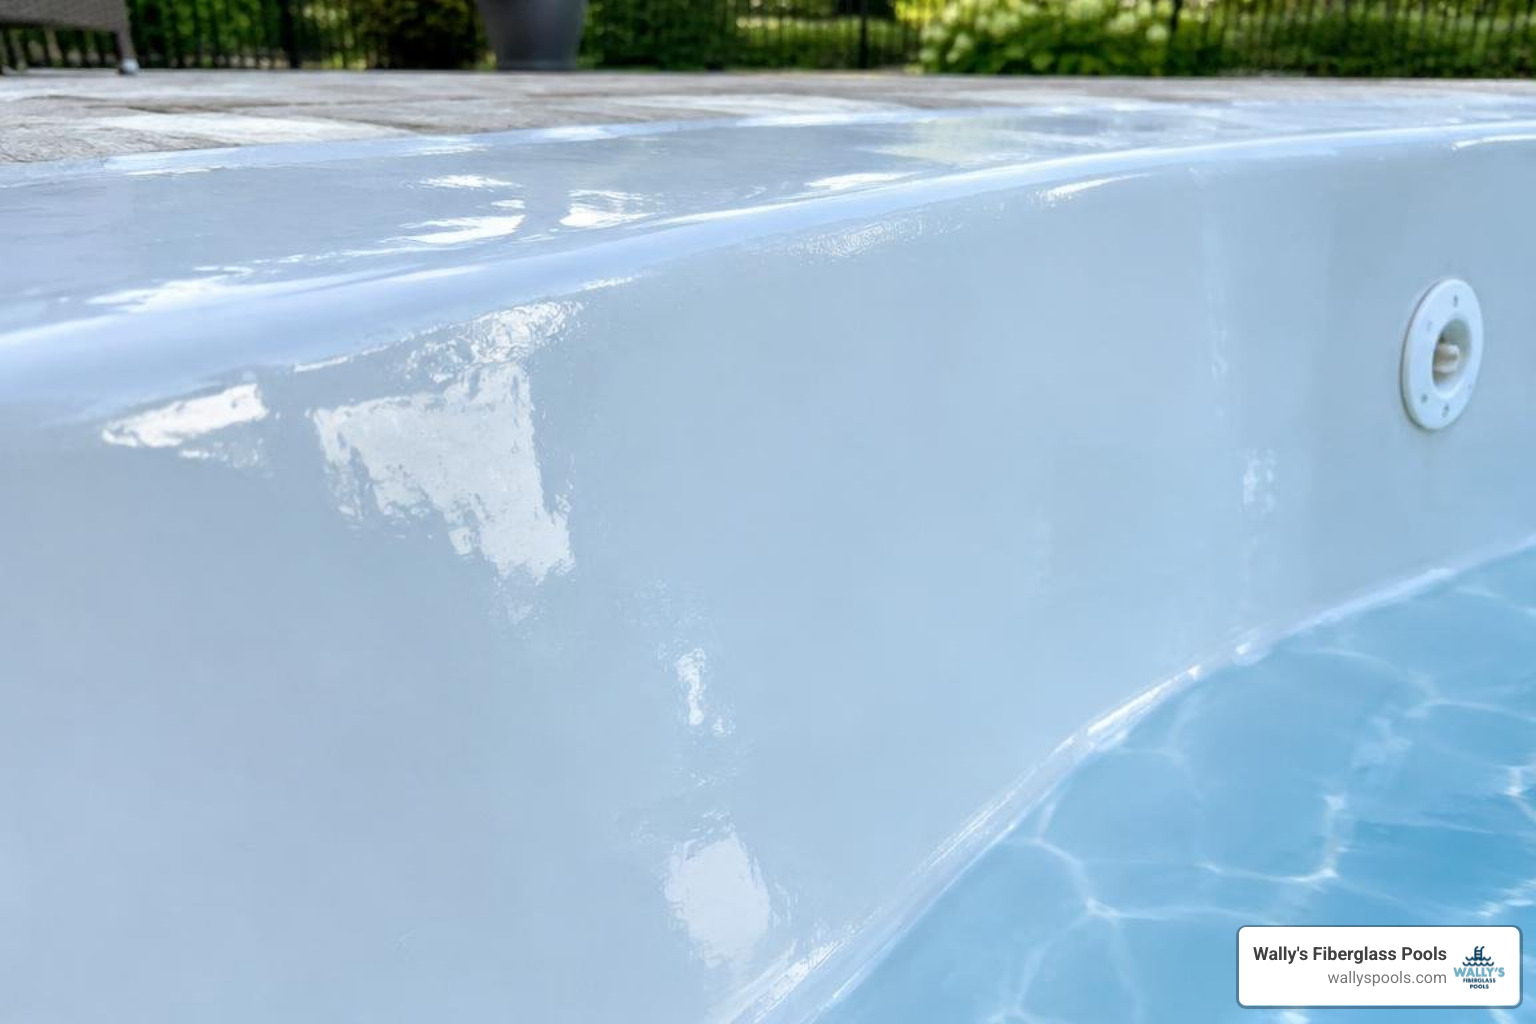
When deciding whether to tackle the project yourself or call a specialist, consider the scope, cost, and expected longevity. Understanding pool crack repair costs helps put these options into perspective:
| Repair Option | Typical Cost Range | Average Curing / Project Time | Expected Durability | Best Suited For |
|---|---|---|---|---|
| DIY Gelcoat Kit | $15–$150 | 24–48 hours cure | 3–7 years | Isolated cosmetic chips under 1 inch |
| Underwater Epoxy Putty | $15–$40 | 30–60 minutes cure | 1–3 years (temporary) | Emergency stop-gap fixes below water |
| Pro Gelcoat Touch-Up | $600–$1,800 | 1–2 days | 10–15 years | Visible gouges, deep chips, spider clusters |
| Pro Structural Crack Fix | $2,500–$6,000 | 3–5 days | 10–20+ years | Cracks through laminate, structural movement |
| Full Pro Resurfacing | $5,000–$12,000 | 10–14 days | 10–15+ years | Widespread blistering, severe chalking/wear |
While DIY patch kits keep upfront costs minimal, a professional touch-up provides computer-matched color blending, correct millage thickness, and long-term warranties.
When to Call a Pro for Fiberglass Pool Chip Repair
Some pool shell problems cannot be solved with a simple patch kit:
- Active Structural Cracks: Long, spreading fractures that penetrate the fiberglass laminate and cause measurable water loss.
- Bulged Shell Walls: Settled or washed-out backfill creates voids, allowing shifting soil and groundwater to bow the wall inward.
- Extensive Osmotic Blistering: Widespread fluid pockets beneath the gelcoat indicate broad moisture penetration requiring multi-layer barrier restoration.
- Backfill Instability: When ground movement threatens the shell, the foundation must be re-stabilized.
In these cases, a topical patch only hides a larger issue. Explore our dedicated fiberglass pool repair services for permanent, structural solutions.
Frequently Asked Questions About Fiberglass Pool Repairs
How long does gelcoat take to cure before swimming?
Under typical summer conditions (around 70°F to 80°F), gelcoat requires 24 to 48 hours to cure fully before you refill the pool or turn on the filtration system. Lower temperatures slow the reaction, while excessive heat accelerates it. Always confirm the surface is rock-hard and non-tacky before submerging the patch.
Why did my fiberglass patch turn yellow?
Patch yellowing usually happens for two reasons: adding too much MEK-P catalyst during mixing (which leaves unreacted chemistry in the resin) or using low-grade resin without UV stabilizers. In Wisconsin’s sunny summer months, uninhibited resins degrade and discolor quickly. Using premium marine-grade isophthalic gelcoat prevents premature yellowing.
Can underwater epoxy putty be sanded and color-matched?
Underwater epoxy putties cure to an extremely hard, resilient consistency, but they cure in an off-white or light gray tone. You can sand them mechanically once cured, but achieving an invisible, high-gloss color match underwater is virtually impossible. Underwater putties are best treated as reliable stop-gap measures until a dry gelcoat repair can be performed.
Conclusion
A well-maintained fiberglass pool shell can easily last 25 to 50 years, but keeping the surface in peak condition requires addressing chips promptly before winter freeze-thaw cycles worsen the damage. For minor chips, a careful DIY patch keeps your pool looking sharp and sealed against the elements.
When damage extends past the gelcoat or covers larger areas, our team is here to help. At Wally’s Fiberglass Pools, we specialize in helping homeowners throughout Sussex, Lake Country, Waukesha County, Walworth County, and the greater Milwaukee area protect and enjoy their backyard retreats. Explore our full range of professional pool services or get in touch today for an on-site evaluation of your pool’s surface.